Create Your Own Greenhouse

Have you wanted to create your own greenhouse? Not sure how? Well these tips and ideas from Custom Made will help you make your greenhouse a reality.

A couple of good reasons to have greenhouse are:

  • It might get too cold to grow certain types of plants. If you have a greenhouse it will allow temperature control to allow you to grow plants that would die if it got frost or too cold.
  • Allow you to grow seeds and young plants. It is always sad and annoying when you try and establish a plant and it dies for a number of reasons, the temperatures outside were too much for it, or you went on holiday and it got neglected. Having a greenhouse will let the young seedlings and plants thrive to then relocate in the garden or you can keep in your greenhouse.
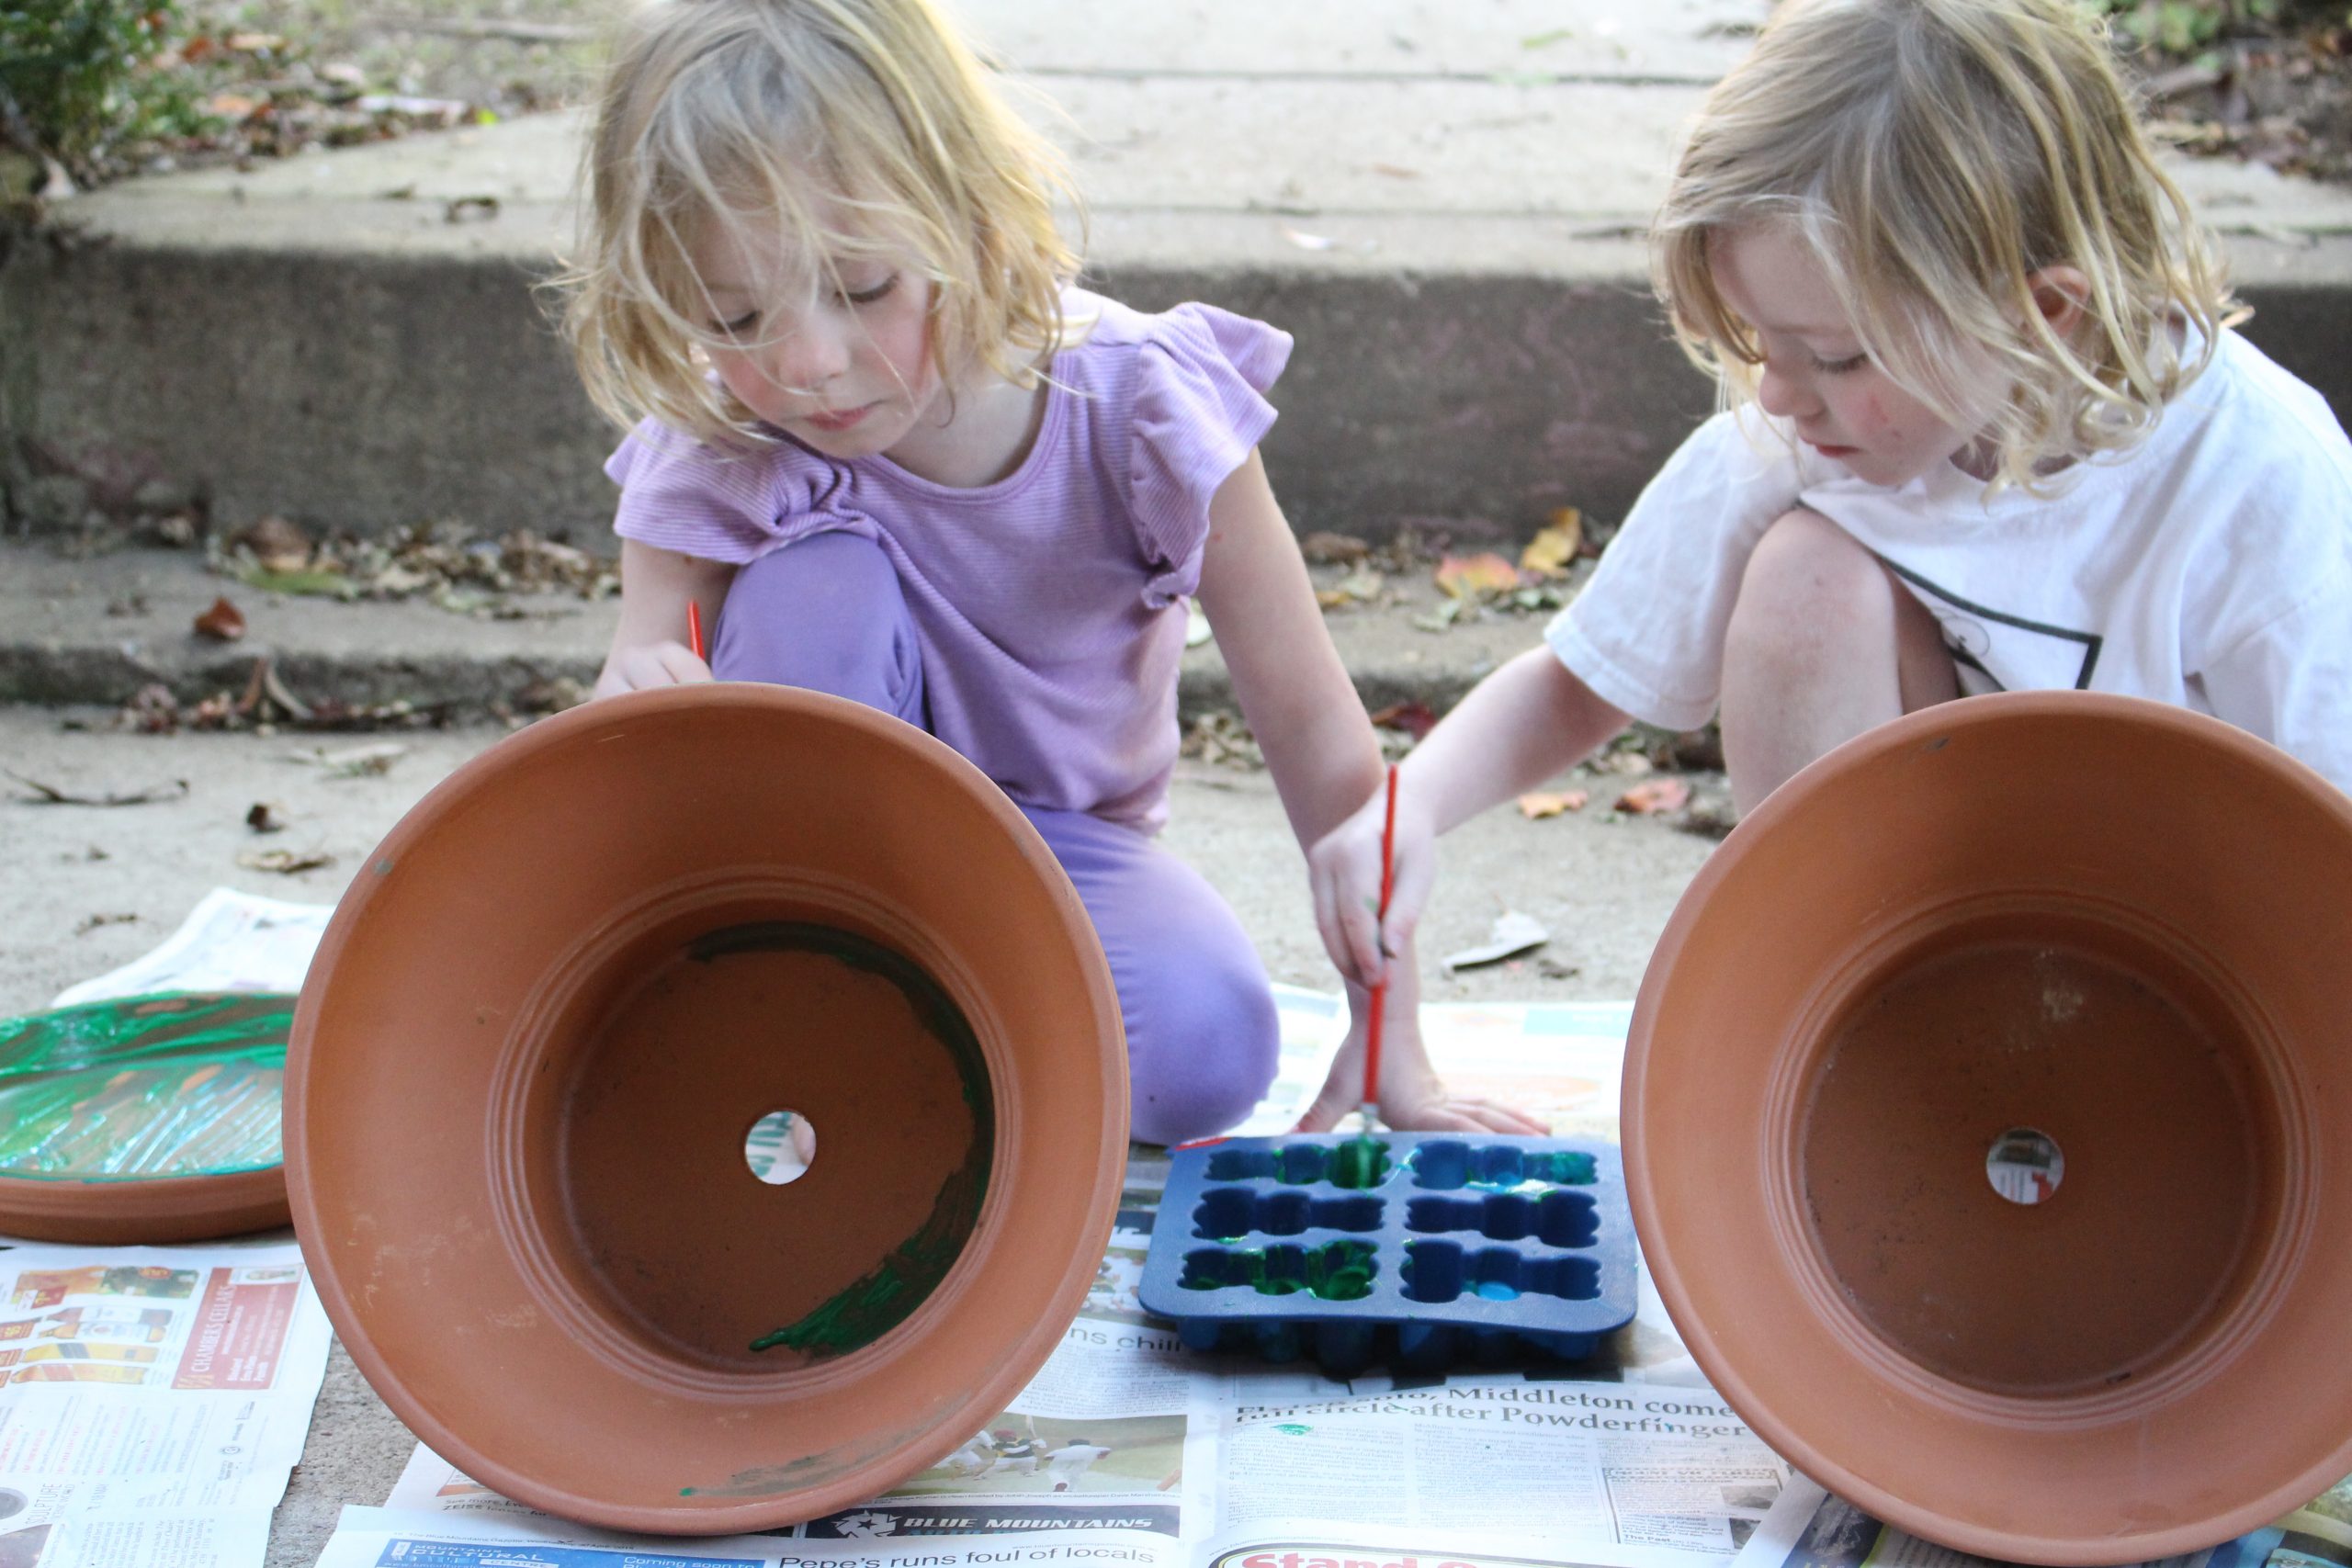
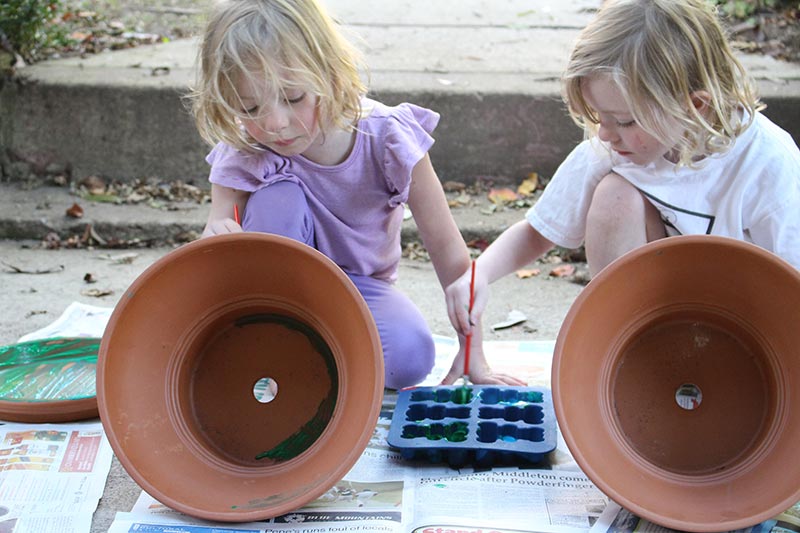
  • Having a controlled environment helps kids learn more about gardening. As said in point two, if your seedlings die it might discourage the kids. Seeing the plants grow from strength to strength will help foster the love of gardening and children will want to do more and more.

What do you need to create your own greenhouse?

  • Flat head shovel, rake
  • Pressure-treated boards for base frame
  • Landscape fabric
  • Landscape staples
  • Heavy duty staples
  • Pea gravel

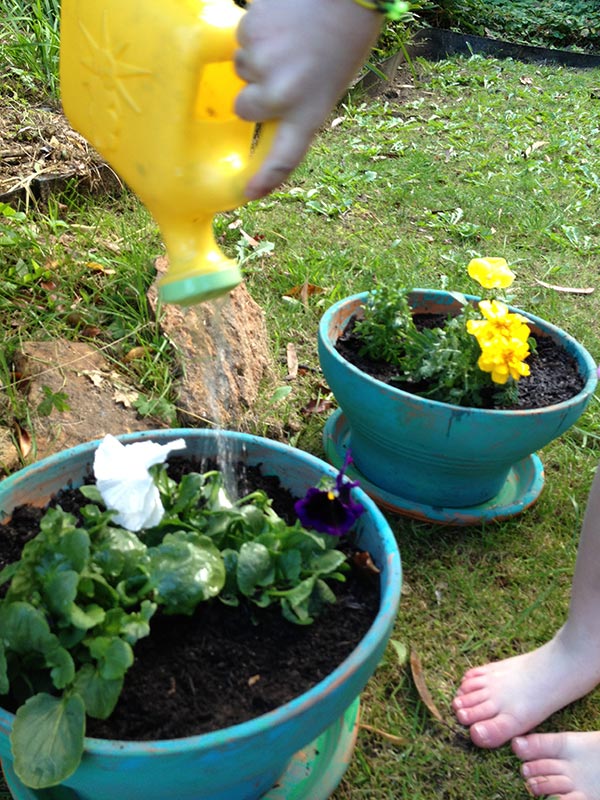
The great infographic from Custom Made shows you the steps to create your own greenhouse. Don’t forget to have the right garden tools for the kids. Once the your greenhouse is up and running the kids will want to get busy planting. Our Little Green Fingers Gardening Tool Set is just right for little hands and will be the perfect addition to your brand new greenhouse!
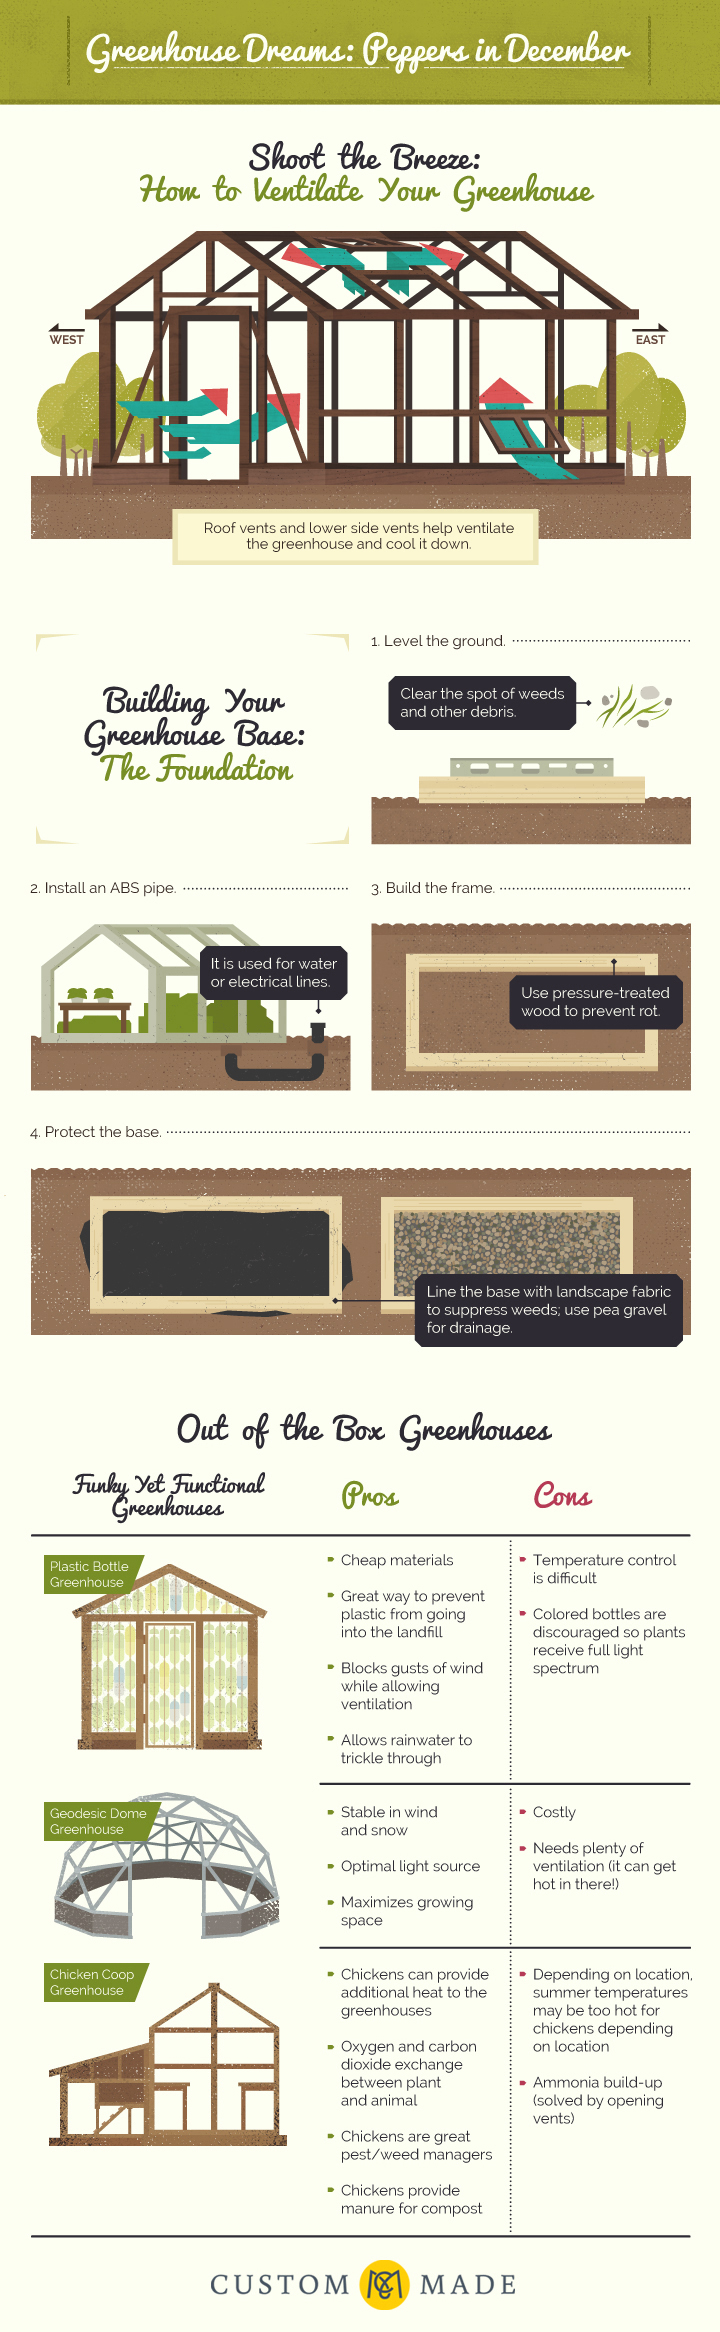
Greenhouse Dreams
Infographic by CustomMade

We hope you have fun creating your own greenhouse and your plants love it too! Let us know how it goes and what you plant in your greenhouse.

Fall Planting

Beautiful Chrysanthemum. Image by Satdeep Gill
Colorful Maple Tree in Fall. Image courtesy of num_skyman at FreeDigitalPhotos.net

Most people don’t think of Fall as a time for planting new landscaping and garden plants. To most, it’s time to put garden ventures to sleep until Spring. While it may not seem so, Fall planting of trees, shrubs, Perennials, bulbs, and cool weather grasses like Fescue is a very good idea.

Roots of newly planted plants and trees can continue to grow and become established in temperatures as low as 40 degrees. And since the roots don’t have to supply the rest of the plant with energy to grow, more energy is focused on root production.

Come Springtime, because of an established root system, plants shoot out of the ground with plenty of energy for top growth.

Soil Temperature

Planting in the fall, soil temperatures are still warm from a long Summer. The warmer soil temperature encourages root growth.

In the Spring, the soil is still cool from the Winter and roots are very slow to become established. Even if you grow plants from seed indoors and transplant outside when the temperature warms, new sprouts still don’t have the advantage of Fall planted plants.

When Exactly Is Fall?

The Fall season officially begins with the equinox in late September. However, Fall weather varies considerably from one part of the country to the next.

Basically, the best period for fall planting is around six weeks before the first hard frost in your area. You can get an idea of the average first frost date near your area from here: http://www.almanac.com/garden/frostus.php. Just keep in mind that the roots need to have time to become established before Winter sets in.

Yellow Marigolds. Image courtesy of sritangphoto at FreeDigitalPhotos.net

Autumn Bloomers

Fall isn’t just a time to put the garden to sleep and start getting ready for Spring. The growing season isn’t quite over yet.

You can add color and new life to the garden by replacing dying Summer Annuals and Perennials with Autumn blooming plants like Pansies, Chrysanthemums, and Ornamental Cabbage and Kale, Marigolds, and others.

It’s also the time to plant spring flowering bulbs and divide Perennials.

8 Steps To Decorate A Planter For Mother’s Day

Decorating pots for Mother's Day

Need a gift for Mother’s Day? Or a birthday? Well we have the perfect thing for you. It is cheap, the kids can help and Mom will love it! (Read the rest of this post and download our PDF guide) Yes I think I had you at cheap and getting the kids to help is a bonus as well. Now what am I on a about?

Busy painting the pots for Mother's Day
Busy painting the pots for Mother’s Day

Decorating terracotta pots with paint and you can also add things like decorations if you like. Glitter if the kids fancy it, glitter glue might be a better option since the pot plant most likely will be outside.

What Will You need?

  • Terracotta pots and saucers for the pots
  • Paint to decorate the pots. Look for ayriclic craft paint or external paint that you would paint the house. If you choose standard craft paint you will most likely have to paint it again. I am sure the kids would love to add to their design so no issue there. If you do want to make sure your design is kept and does not wash away keep indoors or seal the paint work on the pot to make sure.
  • Brushes, newspaper to make sure you don’t make a huge mess, container to clean out brushes, and old clothes or an apron for the kids or yourself so you don’t get good clothes dirty.
  • Soil to plant the plants
The kids being creative in their design

Download our guide 8 Tips to Decorate A Planter for Mother’s Day

8 Steps to Create A Painted Planter For Mom

    1. Set up area for painting. Make sure you have newspaper or some sort of cover to prevent mess and spills. Get it all organized before you get the kids invloved. If you are not ready kids get to eager and start painting. You have been warned!
    2. Make sure the kids paint everything. Saucers and all things that go with the pot.
    3. Our kids used leaves and pressed them into paint to create interesting patterns. This would look amazing if you had different colour paint for different leaf shapes. Then press them onto different areas of the pot and then you have an amazing design.
Using leaves as patterns for the design.
    4. Allow kids to get very messy and have fun with this activity. They can be free to create what ever design and outcome they want.
    5. Get plants ready to be added to the finished pot plant. Before you can do this you will need to wait for the paint to dry. We waited a day and then it was ready to go. It could be an hour or so depending on how hot and if the pot is in the sun to dry.
    6. Add dirt and make sure the plants are in the right spot and in just the right amount. You don’t want to have the plants roots out of the planter and not in the soil. If the kids are helping you this is best to check.
    7. Once all in the new planter, it is now time to water the plants. Get them settled and a drink is a good idea.
    8. Check out the finished product. Don’t they look amazing with color on them. Adding paint to terracotta pots does make a difference. The pots jump out at you now and it is a lovely burst of color, just right for spring and the garden.

Watering the finished potted product. All done and looking amazing. Make one for Mom today!

Have fun and I’m sure the kids and Mom will love this. It will not break the bank. Get cracking on creating this great Mother’s Day gift.