Make a Healthier Playground

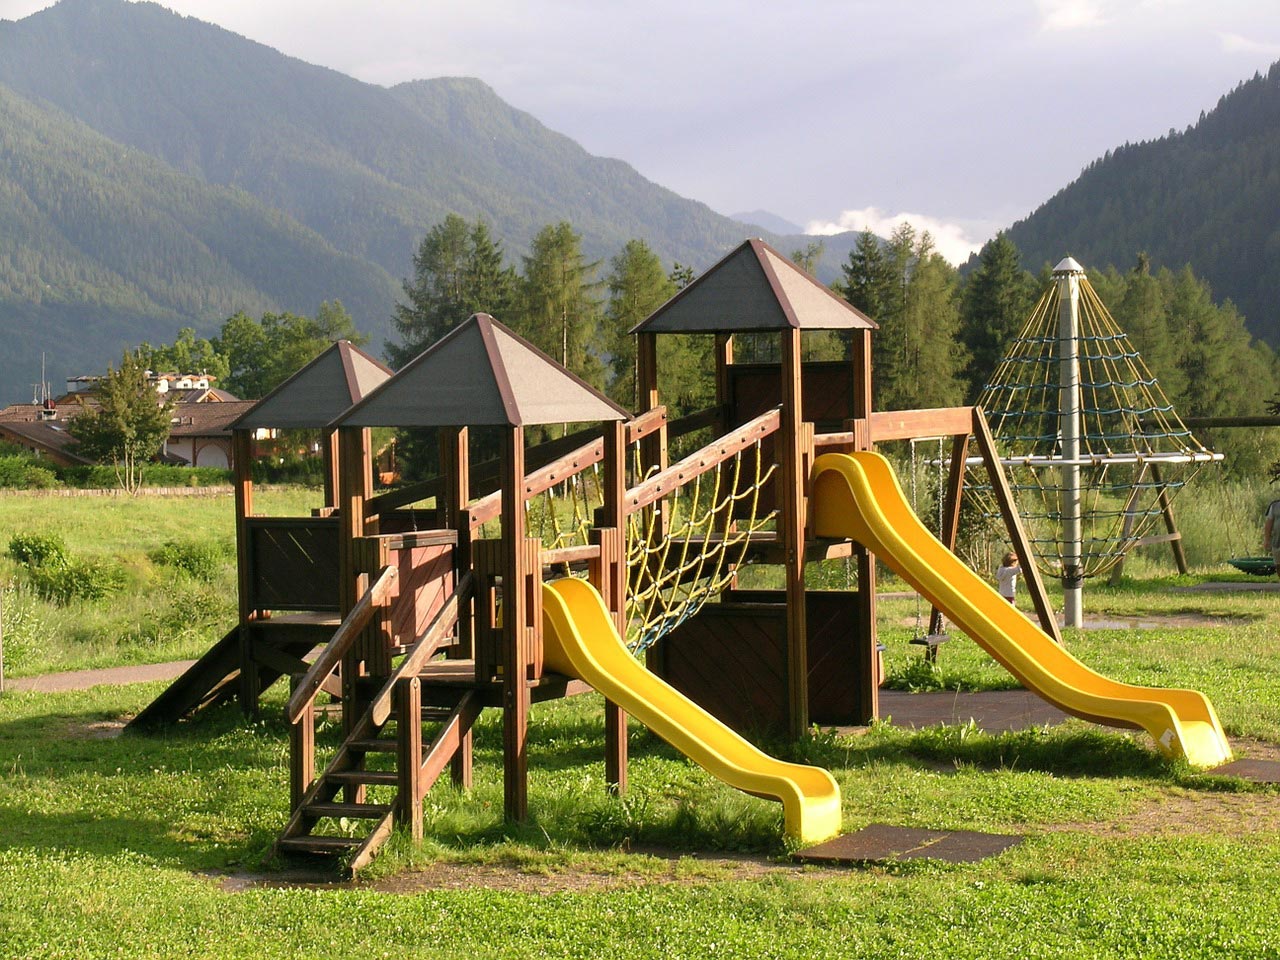
Many old playgrounds might be hiding some toxic hazards, the likes of lead paint and arsenic need to not be in children’s playgrounds and one way to ensure this is to get creative and build your own. Yes you can build some play equipment for the kids. This way you can be sure that it is safe and it is exactly what you want in the space you need it.

My kids love playing outside and creating areas for them to explore and have adventures is ideal. Unstructured outdoor time is helpful for children.

Here are some of the great benefits of unstructured play:

  • Makes kids resilient. If they hurt a foot or scrap a knee they work it out
  • Helps children cooperate with others
  • Learn to do things themselves without parents getting involved
  • Creative and role playing happens more
  • Helps brain development
  • Make friends
  • Allows children to learn. “Until at least 9 years old, a child’s learning occurs best when the whole self is involved” (http://www.stonybrook.edu/heartlinks/unstructuredplay.pdf)
  • Creates the space to allow children to be more independent
  • It is time away from parents and school – a de-stresser


DIY Playgrounds

DIY Playgrounds
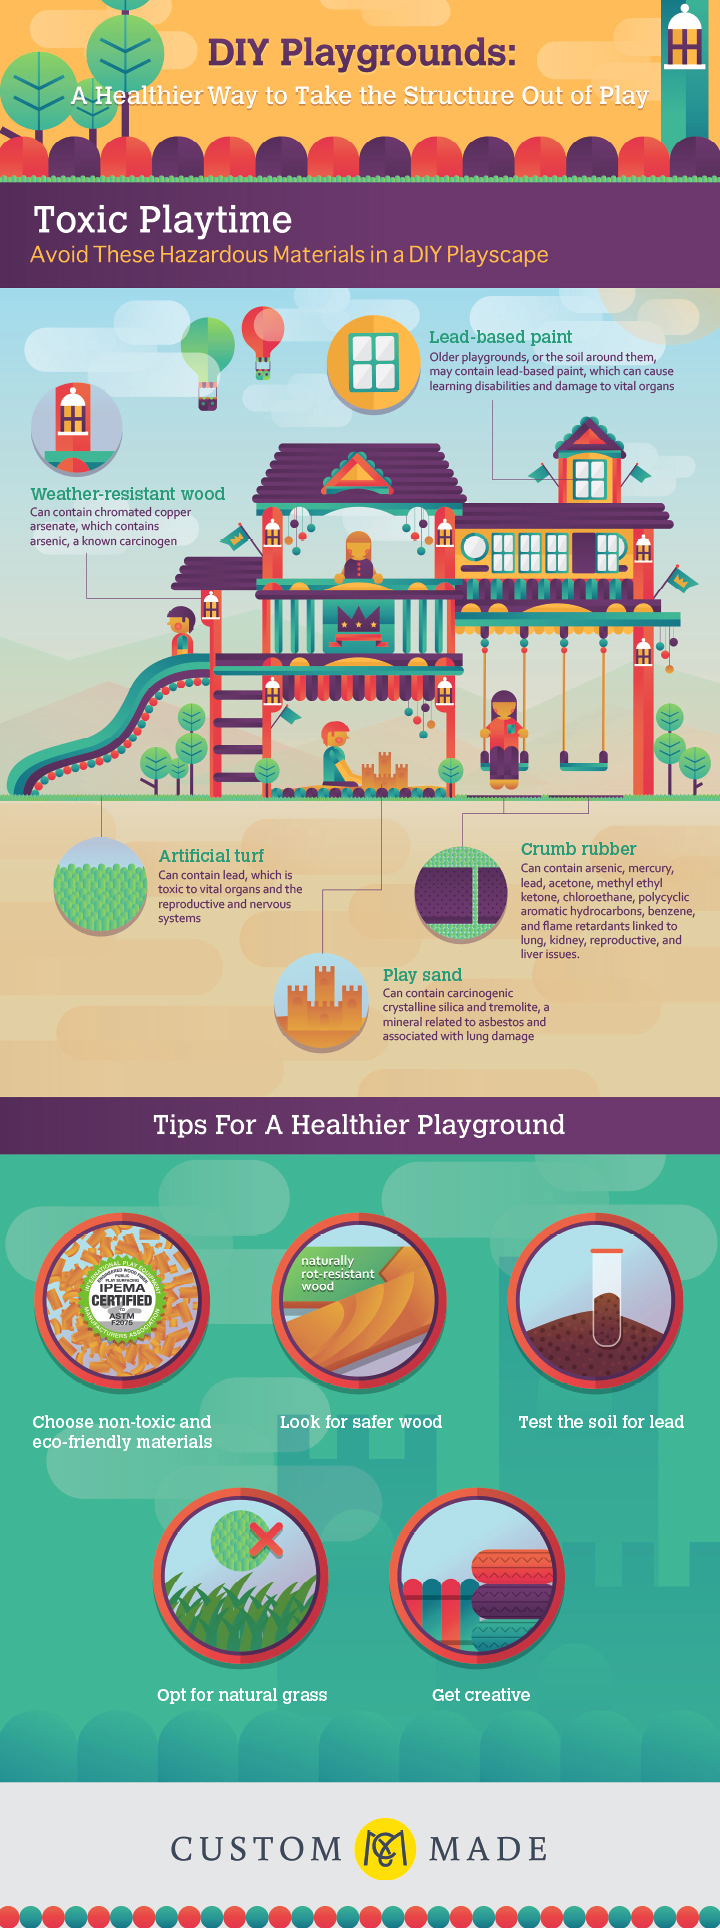
Infographic by CustomMade


How to create a healthier playground?

Make sure you follow these steps to ensure a great happy and healthy play area:

  • Choose safe products. Make sure before you purchase that they are the safest and best product to use for what you are creating. If you are in doubt you can visit the Product Safety Australia Website  and for playground safety guidelines in Australia Kidsafe NSW Inc , or if in America Consumer Product Safety Commission website
  • Test the soil if you are worried about lead levels
  • Steer clear of ployvinyl chloride (PVC) and volatile organic compounds (VOC’s) both of these can be harmful to humans
  • Choose manufacturers that are certified by The International Playground Equipment Manufacturers Association (IIPEMA).
  • Pick better wood or wood alternatives. Safer alternatives to CCA treated wood are: plastic, rubber lumber and composite lumber
  • Recycle your materials and be creative
  • Make sure if kids fall over the area will be soft. Aim to have soft grass if you can.
  • If your playground attracts kids from the area, make sure you have rules so it eliminates or cuas4es less accidents.
  • Before you build the structure you need to know how many kids will be using this playground. More kids might need more engineering or it might determine what types of things go in this new play area. If the kids are all the same age then something for one age group. If some are older and some are younger you will need to figure out what will make them all happy.

Create your own playground in your yard

Get some Playground Plans for Free!

Need some inspiration on what to create. Here are some plans from Total Playgrounds that will give you a helping hand. Creating something unique for your family and children is a wonderful thing. Remember that something like this cannot be built in one day, well unless you have hired a team of builders that is. So be realistic it might take a month or two but it will get done and you will have something fun and amazing the kids will love.

How about these fabulous ideas from Homedit, get creating today and turn your yard into a fun place to be. Your children will never want to come inside.

Here is another great link to Playground Equipment in New Zealand and they have some great plans that you can create in your very own backyard.

Happy building and happy playing in your new and personal playground. Have fun!

Create Your Own Greenhouse

Have you wanted to create your own greenhouse? Not sure how? Well these tips and ideas from Custom Made will help you make your greenhouse a reality.

A couple of good reasons to have greenhouse are:

  • It might get too cold to grow certain types of plants. If you have a greenhouse it will allow temperature control to allow you to grow plants that would die if it got frost or too cold.
  • Allow you to grow seeds and young plants. It is always sad and annoying when you try and establish a plant and it dies for a number of reasons, the temperatures outside were too much for it, or you went on holiday and it got neglected. Having a greenhouse will let the young seedlings and plants thrive to then relocate in the garden or you can keep in your greenhouse.
  • Having a controlled environment helps kids learn more about gardening. As said in point two, if your seedlings die it might discourage the kids. Seeing the plants grow from strength to strength will help foster the love of gardening and children will want to do more and more.

What do you need to create your own greenhouse?

  • Flat head shovel, rake
  • Pressure-treated boards for base frame
  • Landscape fabric
  • Landscape staples
  • Heavy duty staples
  • Pea gravel

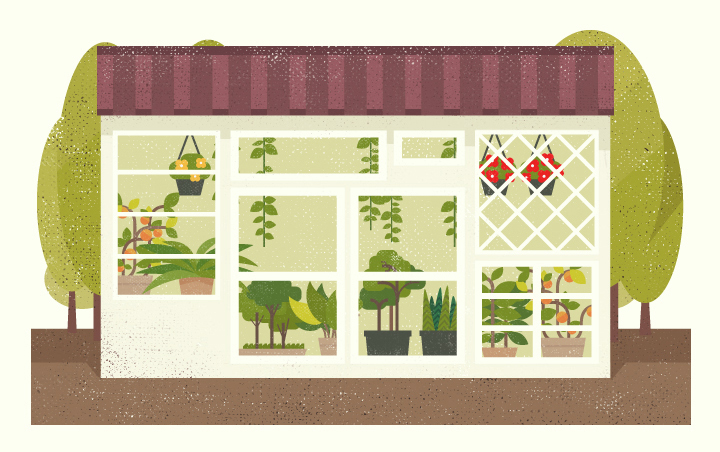
The great infographic from Custom Made shows you the steps to create your own greenhouse. Don’t forget to have the right garden tools for the kids. Once the your greenhouse is up and running the kids will want to get busy planting. Our Little Green Fingers Gardening Tool Set is just right for little hands and will be the perfect addition to your brand new greenhouse!

Greenhouse Dreams
Infographic by CustomMade

We hope you have fun creating your own greenhouse and your plants love it too! Let us know how it goes and what you plant in your greenhouse.

Halloween Crafts for Kids

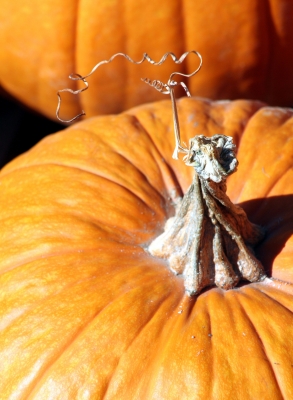
Pumpkin ready to paint for Halloween. Image courtesy of Michael Elliott at FreeDigitalPhotos.net

Many kids love Halloween. There are parties, costumes, and every kid’s favorite – candy. Trying to keep kids entertained until Halloween night can require the patience of Gandhi himself. Here are some easy Halloween crafts that you can use to keep the kids entertained.

Puppets

Ghost puppets are easy to make and can inspire hours of creative play. Get a white handkerchief, black marker, and a rubber band. Drape the handkerchief over your child’s middle three fingers, secure with a rubber band, and draw on eyes and a mouth with the marker. You can also put the cardboard from a paper towel roll and stuff the head with cotton balls if you want a more permanent puppet.

Lollipops

If you are planning on handing out lollipops as part of your treats for trick-or-treating, you kids can help you decorate them. Cover the lollipop with a tissue, tying securely with a rubber band or piece of ribbon. Use a marker to draw eyes and mouth on your ghosts and they are ready for giving.

Spider webs

Take 3 craft sticks and glue them together so that they make a star shape. Taking white or black yarn, weave it over one craft stick and under the next, working your way outwards from the center. When it is finished, glue down the end and attach a plastic spider. Your creation is now ready for hanging.

Candy Cauldrons

Find an empty plastic container and paint it black. You will also need to paint three small wooden balls black as well. Once everything is completely dry, glue the balls to the bottom of the cauldron. Add a wire handle if you would like, and fill your cauldron with your favorite Halloween candies.

Paint a pumpkin

Pumpkin carving is a bit messy and difficult, and can be dangerous if you do not want small children handling the knife. Instead, get some permanent markers or acrylic paint your pumpkin to look like a monster, clown, or other Halloween character. For kids, the smaller “pie pumpkins” or even the mini-pumpkins will work perfectly for this craft.

Paper plate masks

While your child may not be able to dress up in their costume until the day or evening of Halloween, you can easily create your own masks. Help your child cut eyes and breathing holes out of a paper plate. Punch a hole on either side to attach a ribbon or string to tie the mask on. Then you can allow your child to decorate the mask with crayons, marker, paint, or by gluing items to it.

Family celebrating Halloween. Image courtesy of stockimages at FreeDigitalPhotos.net

Reusable treat bags

Purchase some reusable cloth totes or shopping bags as well as some Halloween-colored fabric paint. You can also look for iron-on transfers and stencils to make decorating easier. Allow your kids to decorate their own bag. If you do this a few days before Halloween, it will be dry and ready to go along when trick-or-treating.

A little creativity and you can come up with your own Halloween crafts for kids as you wait to celebrate.

Create A Reading Garden

Community reading gardens are taking root across America.

Here are some helpful hints for creating a reading garden in your backyard.

Essentials include a clear area, a bench or hammock, shade and light and flowers and plants for inspiration and beauty. Think of color, shape, contrast and scent.

Hammock waiting to be used! Image courtesy of EA / FreeDigitalPhotos.net

Start by clearing out debris, sticks, stones and weeds. A vibrant lawn sets the stage. For mowing larger areas, a zero-turn rider, like the Troy-Bilt RZT 50, reduces time and effort. You can go forward, backward and cut around landscaping and trees.

A lawn tractor can help quickly mow and mulch and haul materials. A string trimmer trims under and around bushes, trees and fences. Tillers create rich, workable soil by cutting into it and turning under vegetation and compost.

Consider whether you want to spend more time reading or gardening, and choose high-or low-maintenance flowers and plants.

For privacy and quiet, try a hedge or screen of ivy. A border of flowers, plants, stones or shrubs can set off your outdoor “reading room.” If there’s no tree for shade, try taller shrubs, bushes or ivy on a trellis.

Relaxing with a good book in the garden. Image courtesy of phasinphoto / FreeDigitalPhotos.net

The final step is the simplest.

Open up a book and experience the beauty and inspiration of your reading garden. Enjoy!

Ease Bug Bites with Easy Herbs

Summertime means insect bites and stings. Ouch! Take a leaf from Susun S. Weed‘s storehouse of natural remedies: Soothe, heal, and prevent bites with safe herbal remedies that grow right where you live: north or south, east or west, city or country. The best natural remedies for insect bites are right underfoot.

Plantain, also called ribwort, pig’s ear, and the band-aid plant, is a common weed of lawns, driveways, parks and playgrounds. Identify it by the five parallel veins running the length of each leaf. (Most leaves have a central vein with smaller ones branching out from it.) You may find broad leaf plantain (Plantago majus), with wide leaves and a tall seed head, or narrow leaf plantain (Plantago lanceolata), with long thin leaves and a small flower head that looks like a flying saucer. Many Plantago species have seeds and leaves that can be used as food or medicine. A South American variety (Plantago psyllium) is used to make Metamucil.

How to use plantain?

Make a fresh leaf poultice. Pick a leaf, chew it well and put it on the bite. “Like magic” the pain, heat, and swelling – even allergic reactions – disappear, fast! (Yes, you can dry plantain leaves and carry them in your first aid kit. Chew like you would fresh leaves.)

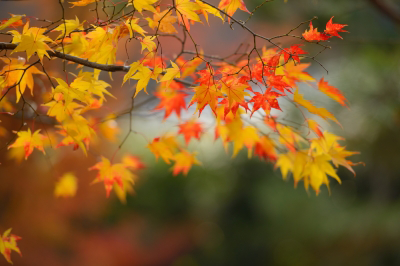
Maple Leaves. Image courtesy of num_skyman / FreeDigitalPhotos.net

Poultices ease pain, reduce swelling, and help heal. No wonder they’re the number one natural choice for treating insect bites, bee and wasp stings.

  • Mud is the oldest and simplest poultice. Powdered white clay, which should be mixed with a little water or herb tea, can be applied directly to the sting as soon as possible. Clay can be kept on hand at all times and is less likely to contain fungal spores than the real thing. Finely ground grains such as rice or oatmeal, or bland starchy substances like mallow root, grated potato, or arrowroot powder are also used as soothing poultices to ease itching and pain from insect bites.
  • Fresh-herb poultices are a little more complicated, but not by much. Just find a healing leaf, pluck it, chew it, and apply it directly to the sting/bite. If you wish, use a large leaf or an adhesive bandage to hold the poultice in place. Plantain, comfrey (Symphytum uplandica x), yellow dock (Rumex species), wild geranium (Geranium maculatum), wild mallow (Malva neglecta), chickweed (Stellaria media), and yarrow are only a few of the possibilities.

In the woods, you can take a leaf from a tree, chew it and apply that to the bite. Any tree will do in an emergency, but if you have a choice, the best leaves are those from witch hazel, willow, oak or maple. Play it safe: learn to recognize witch hazel (Hamamelis virginia) and willow (Salix species) leaves before you chew on them. Maple (Acer) or oak (Quercus) leaves are easier to recognize and safer to chew – unless you live where poison oak grows. If uncertain, avoid all shrubs and any trees with slick or shiny leaves. If the leaf you are chewing tastes extremely bitter or burns your mouth, spit it out at once.

How to repel ticks, mozzies and black flies

To repel ticks, mosquitoes, and black flies, try a diluted tincture of yarrow (Alchellia millefolium) flowers directly on all exposed skin. A recent US Army study showed yarrow tincture to be more effective than DEET as an insect repellent.

Mosquito Biting Hand. Image courtesy of SweetCrisis / FreeDigitalPhotos.net

 If you’ve spent the day in an area where lyme disease is common, take a shower right away and scrub yourself with a bodybrush. Have a friend check you out for ticks. Also, it takes the tick some time to make up its mind where to bite, so most are unattached and will wash off.

“If the worst happens and I do get a bite, I help my immune system by taking a daily dose of 2-6 dropperfuls of Echinacea tincture. I avoid Goldenseal as I believe it could have adverse effects. If I have symptoms, I use a dropperful of St. John’s wort (Hypericum) tincture three times a day to ensure the lyme’s organism is inactive.” Susun S. Weed

Creating a Butterfly and Hummingbird Garden

With just a little bit of planning, you can have beautiful butterflies and hummingbirds flocking to your garden. That’s good news for gardeners because not only are these winged creatures fun to watch, they’re essential pollinators.

The key is to know what hummingbirds and butterflies look for, which is flowers with nectar. So when you select nectar-rich plants for your garden, look for varieties that are both prolific bloomers and have a long bloom time. Prune your plants to prevent excessive woody growth and encourage the growth of new flowers.

Hummingbird drinking nectar. Image courtesy of Michael Elliott / FreeDigitalPhotos.net

Try these tips from Monrovia, one of the leading growers of plants:

    • Hummingbirds are attracted to bright orange, red and hot pink blossoms. Their long, narrow beaks can reach the nectar of long, tubular flowers such as the Balboa Sunset Trumpet Vine with its large scarlet blossoms, and the Goldflame Honeysuckle, which has vibrant yellow and red flowers. Other good choices are the Super Red Flowering Maple and the Navajo series of Salvia, available in many colors, including bright red, rose and salmon red.


    • Not all hummingbirds feed at the same height, so plant an array of shrub sizes and climbing vines for food sources.


    • Butterflies are attracted to yellow, orange and red. They too are seeking nectar, but their mouths, or proboscises, are much smaller, so they prefer flatter flowers they can perch on while they feed. The no-fail plant for butterflies is the Butterfly Bush, or Buddleja. However, since they can get too large for some gardens, consider the Petite series of Dwarf Butterfly Bushes. Petite Indigo has a profusion of lilac-blue flowers; Petite Plum sports reddish-purple blooms and the Petite Snow has pure white blossoms.


    • Butterfly. Image courtesy of antpkr / FreeDigitalPhotos.net
      Butterfly attracted to the red flowers. Image courtesy of antpkr / FreeDigitalPhotos.net

      Lilacs are favorites of butterflies, but don’t typically flower well in climates with warmer winters. The Blue Skies Lilac produces huge clusters of light lavender-blue flowers that don’t require winter chilling. Butterflies love Coneflowers, such as the bright pink Pixie Meadowbrite. Asters are great because they bloom well into fall. The new Farmington Aster has a profusion of lilac bloom clusters that butterflies flock to.


    • Supply a source of water. Hummingbirds enjoy flying through a fine mist, which cools them off. Butterflies like drinking from shallow puddles. Position some large flat rocks in a sunny spot, on which butterflies can sun themselves to warm their wings.

Adding bright colored plants and following this guide will surely attract more butterflies and hummingbirds. Hope that you enjoy all your new visitors to your garden.


Growing Your Own Herbs

If you’re not the type of person that wants to spend their time managing an elaborate fruit or vegetable garden, you might consider planting and maintaining an herb garden. While the product might not seem as significant, you’ll still enjoy the constant availability of fresh, delicious herbs to flavor your meals with.

Step 1 – First you’ll want to choose the herbs that you’ll plant. You might have a hard time doing this because of the huge scope of herbs available. But the best way to choose is to do what I did; just look at what you have in your kitchen. By planting your own collection of these herbs, you can save money on buying them from the grocery store while having the added benefit of freshness. Some of the herbs you might start with include rosemary, sage, basil, dill, mint, chives, and parsley among others.

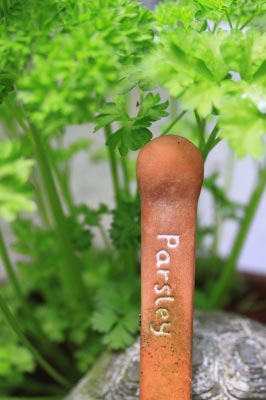
Parsley. Image courtesy of Simon Howden / FreeDigitalPhotos.net

Step 2 – Where to plant your herbs. When choosing an area to put your herb garden, you should remember that the soil should have extremely good drainage. If the dirt gets watered and stays completely saturated, you have no chance of ever growing a healthy plant. One of the best ways to fix the drainage problem is to dig a foot deep in the soil, and put a layer of crushed rocks down before replacing all the soil. This will allow all that water to escape, thus saving your plants.

Step 3 – Cheaper to grow herbs from seeds rather than established plants. When you are ready to begin planting herbs, you might be tempted to buy the more expensive plants from the store. However, with herbs it is much easier to grow them from seed than it is with other plants. Therefore you can save a bundle of money by sticking with seed packets. Some herbs grow at a dangerously fast rate. For example, if you plant a mint plant in an open space then it will take over your entire garden in a matter of days. The best way to prevent this problem is to plant the more aggressive plants in pots (with holes in the bottom to allow drainage, of course).

Step 4 – Harvest your herbs and then use them. When it comes time to harvest the herbs you have labored so hard over, it can be fatal to your plant to take off too much. If your plant isn’t well established, it isn’t healthy to take any leaves at all, even if it looks like it’s not using them. You should wait until your plant has been well established for at least several months before taking off any leaves. This wait will definitely be worth it, because by growing unabated your plant will produce healthily for years to come.

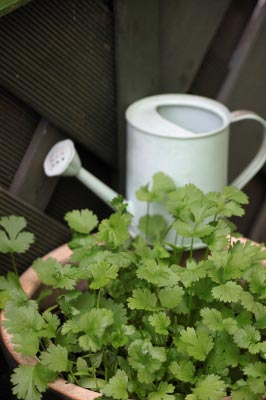
Corriander. Image courtesy of Simon Howden / FreeDigitalPhotos.net

Once you’ve harvested your delicious home grown herbs, you’ll want to use them in cooking. Why else would you have grown them? Well first the process begins with drying them out. This is easily achieved by placing them on a cookie sheet and baking them in an oven at 170 degrees Fahrenheit for 2 to 4 hours. After they’re sufficiently dried to be used in cooking, you can consult the nearest cookbook for instructions on using them to effectively flavor a dish.

Step 5 – Store your herbs for later use. If you want to store your herbs for later usage, you should keep them in a plastic or glass container. Paper or cardboard will not work, because it will absorb the taste of the herbs. During the first few days of storage, you should regularly check the container and see if any moisture has accumulated. If it has, you must remove all the herbs and re-dry them. If moisture is left from the first drying process, it will encourage mildew while you store your herbs. Nobody likes mildew.

If you enjoy herbs or gardening, or both, then you should probably consider setting up an herb garden. It might require a little bit of work at first to set it up for optimal drainage, and pick what herbs you want to grow. But after the initial hassle, it’s just a matter of harvesting and drying all your favorite herbs.

7 Great Garden Decoration Tips!

Are you looking for a way to add to your garden decor? Want something everlasting, nature-based or stylized? There are many things that you can add to your outdoor living space to make it comfortable and inviting and still provide you with few hours of work on maintenance. Here are 7 ways to add decor to your garden.

Tip 1: Unadulterated Is Best. When adding products outdoors, from furniture to statuary, you should always look towards the most organic of products. When you do this, you’ll allow for something that fits within the landscape, not something that sticks out in it.

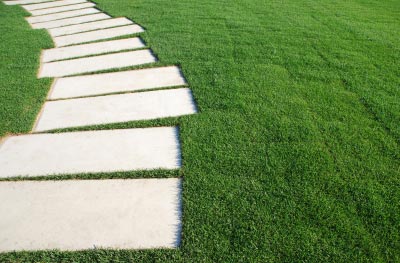
Tip 2: Flow Is Essential. If you have a large garden or landscape, you can create a flow throughout it to make it a much more liveable and organic environment. For example, a pathway leading through the garden is important as it provides for a way to move through the area enjoying all of the principle sights along the way.

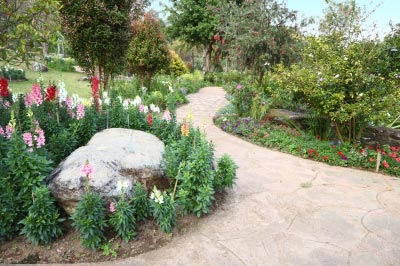
A great garden path. Image courtesy of Keerati / FreeDigitalPhotos.net
A great garden path. Image from of Keerati @ FreeDigitalPhotos.net
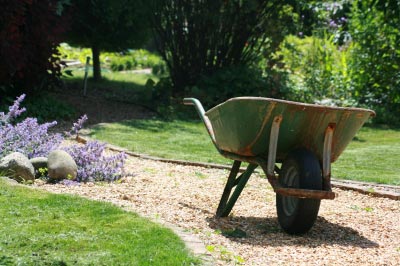
Serpentine Pathway Stones On A Park Lawn. Image courtesy of artur84 / FreeDigitalPhotos.net
Serpentine Pathway Stones. Image from of artur84 @ FreeDigitalPhotos.net

Tip 3: Overboard Isn’t Good. Overcrowding a space with too much decor or even to a multitude of plants is bad business. Instead, look for a more nature-based landscape component. Overcrowding plants can cause them to eventually die or take over the entire garden. Too much decor can make it look cluttered instead of lavish.

Tip 4: Use Lines. Lines from your home or your edging can help to create a lovely look within the garden. The roof line of the house can be a line that leads the eye to something excellent at the end. Use the lines that you have to create a flow to the eye.


Comfortable and Sylish Patio Furniture. Image courtesy of photostock / FreeDigitalPhotos.net

Tip 5: Charm Means Theme. While you don’t need a specific theme throughout your garden decor, you should look towards the same or similar offerings. For example, if you place a white metal table under your trees to produce a restful place, make sure that the chairs that go with it match it. Add a white picket fence or other matching pieces to tie certain areas of the garden together as well.

Tip 6: Uphold it. A large amount of the aspects within a garden are going to need some upkeep. If you pull your weeds, don’t let this be overshadowed by the fact that you haven’t washed that white possessions in a year. Keep up on broken or misplaced items as well. Within the duration of harsh winter months, make sure to put as much as possible in storage that can be broken.

Tip 7: Garden decor is not done without the look for lovely patio items. Allow it to mesh with the settings that you have created too. For example, in a woodsy area, look towards an organic, lovely product such as teak to keep it looking as if it belongs there.

The aforementioned points can help to contribute to a lovely and fashionable garden decor that is everlasting, easy to manage and a welcoming place to call your own.
We hope this has given you some inspiration and ideas on how to improve your garden.

Compost Tea – Tea Time For Your Garden

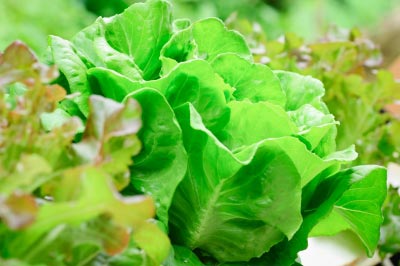
Lettuce. Image courtesy of lobster20 / FreeDigitalPhotos.net

If you would like a nice garden, you’ll need a bucket of water and some garbage. That simple recipe is all you need to grow healthy, beautiful plants all summer long. But before you start floating a tin can in a some water, you need to know that there is a catch.

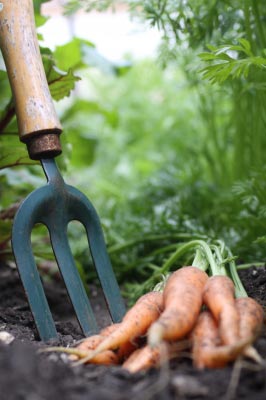
Vegetable Gardening. Image courtesy of Simon Howden / FreeDigitalPhotos.net

The trick to this recipe is that you have to compost your garbage first. Compost and water are the only ingredients you need to create a powerful plant supplement known as compost tea.

Compost in the garden will improve your soil which in turn will reward you with strong plants that are better able to fend off droughts and diseases. Compost improves soil structure and drainage.

It can also be used as a fertilizer or a mulch and it enhances the soil’s ability to absorb water.

Compost tea provides the same benefits to a plant as compost but it doesn’t stop there. Not only can compost tea can applied to the soil around plants like regular compost, but it can also be sprayed on the leaves. When sprayed directly on the leaves, it increases the amount of nutrients available to the plant and helps fight foliar diseases.

It will even increase the nutritional value and improve the taste of vegetables.

There are many different ways to make compost tea but most recipes can be summarized by saying, if you steep compost in water you get compost tea.

Using rain water is the best way to make compost tea but you can get by with tap water if rain is scarce. Tap water usually contains enough chlorine in it to kill off all of the beneficial bacteria so it’s best to let it sit for a few hours before using it.

Recycled Seedling Pots ready to plant. Image courtesy of Simon Howden / FreeDigitalPhotos.net

The quickest and easiest way to make compost tea is with an old sock filled with compost. Throw it in a bucket and let it sit for a day and you’ve just made compost tea. Sure there are more complicated ways to make the tea more effective such as using air stones or fish tank bubblers to feed the mixture enough oxygen but the old sock in a bucket method works just fine. Some people add molasses to the mix and there are many other secret home recipes.

But you’ll do fine by using a sock filled with compost and a bucket of water. And actually the sock is optional if you have no plans on using a sprayer.

When applying compost tea with a sprayer you have to worry about clogs. Attach some cheese cloth or a piece of panty hose to the sprayer’s intake with some rubber bands and you should be fine.

If you need more than a few buckets of tea, then an old fish tank or a plastic storage bin would make a great container for brewing compost tea.

After you’ve brewed a few batches and are happy with the results why not try aerated compost tea? You’ll need to feed your mixture a constant supply of oxygen so a bubbler or air stones will be required. You need to keep it aerated so it doesn’t grow any harmful pathogens. Some popular ingredients to add to bubbling compost tea are alfalfa, fish emulsion, powdered seaweed, corn meal, green sand and more.

Don’t use manure. Manure tea shouldn’t be used as a foliar spray especially if you’re growing vegetables and who wants manure floating around in their bucket anyway.

Ask a weekend gardener about compost and chances are they’ll tell you it’s powerful stuff with a lot of uses. But ask a serious gardener about compost and they’ll probably tell you that it’s the most important ingredient there is when making compost tea.

Great links to help create compost tea:

Wikihow instructions to make compost tea
How to make compost tea by Home Composting Made Easy

4 Tips For A Flower Garden

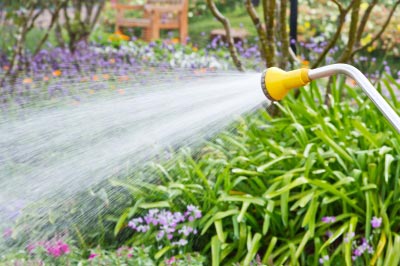
Watering your flower garden. Butterfly on flower. Image courtesy of Gualberto107 / FreeDigitalPhotos.net

Knowing how to care for your flower garden can make a big difference in the look and over-all health of your plants. Here are some simple hints to make your garden bloom with health.

1. The essentials must always be given major consideration.

Your flower garden must have an adequate supply of water, sunlight, and fertile soil. Any lack of these basic necessities will greatly affect the health of plants. Water the flower garden more frequently during dry spells.

When planting bulbs, make sure they go at the correct depth. When planting out shrubs and perennials, make sure that you don’t heap soil or mulch up around the stem. If you do, water will drain off instead of sinking in, and the stem could develop rot through overheating.

Lovely tulips in a bright flower garden. Image courtesy of David Castillo Dominici / FreeDigitalPhotos.net

2. Mix and match perennials with annuals.

Perennial flower bulbs need not to be replanted since they grow and bloom for several years while annuals grow and bloom for only one season. Mixing a few perennials with annuals ensures that you will always have blooms coming on.

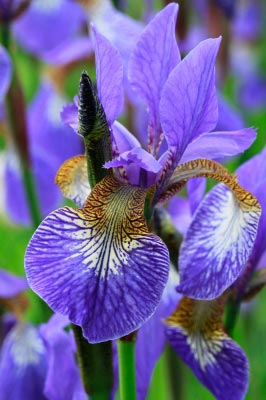
Purple Iris. Image courtesy of Tina Phillips / FreeDigitalPhotos.net

3. Deadhead to encourage more blossoms.

Deadheading is simply snipping off the flower head after it wilts. This will make the plant produce more flowers. Just make sure that you don’t discard the deadhead on the garden or mildew and other plant disease will attack your plants.

4. Know the good from the bad bugs.

Most garden insects do more good than harm. Butterflies, beetles and bees are known pollinators. They fertilize plants through unintentional transfer of pollen from one plant to another. 80% of flowering plants rely on insects for survival.

Sowbugs and dung beetles together with fungi, bacteria and other microorganisms are necessary to help in the decomposition of dead plant material, thus enriching the soil and making more nutrients available to growing plants.

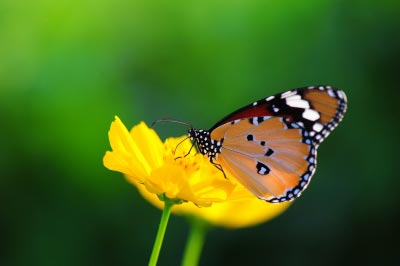
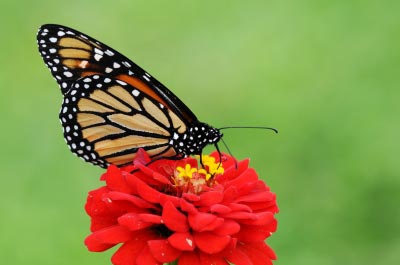
Butterfly on flower. Image courtesy of Gualberto107 / FreeDigitalPhotos.net

Other insects like lacewings and dragonflies are natural predators of those insects that do the real damage, like aphis.

An occasional application of liquid fertilizer when plants are flowering will keep them blooming for longer.

We hope these 4 tips helps your garden and of course you have many wonderful flowers bloom.

Always prune any dead or damaged branches. Fuchsias are particularly prone to snapping when you brush against them. The broken branch can be potted up to give you a new plant, so it won’t be wasted.

Happy Gardening!