Make a Healthier Playground

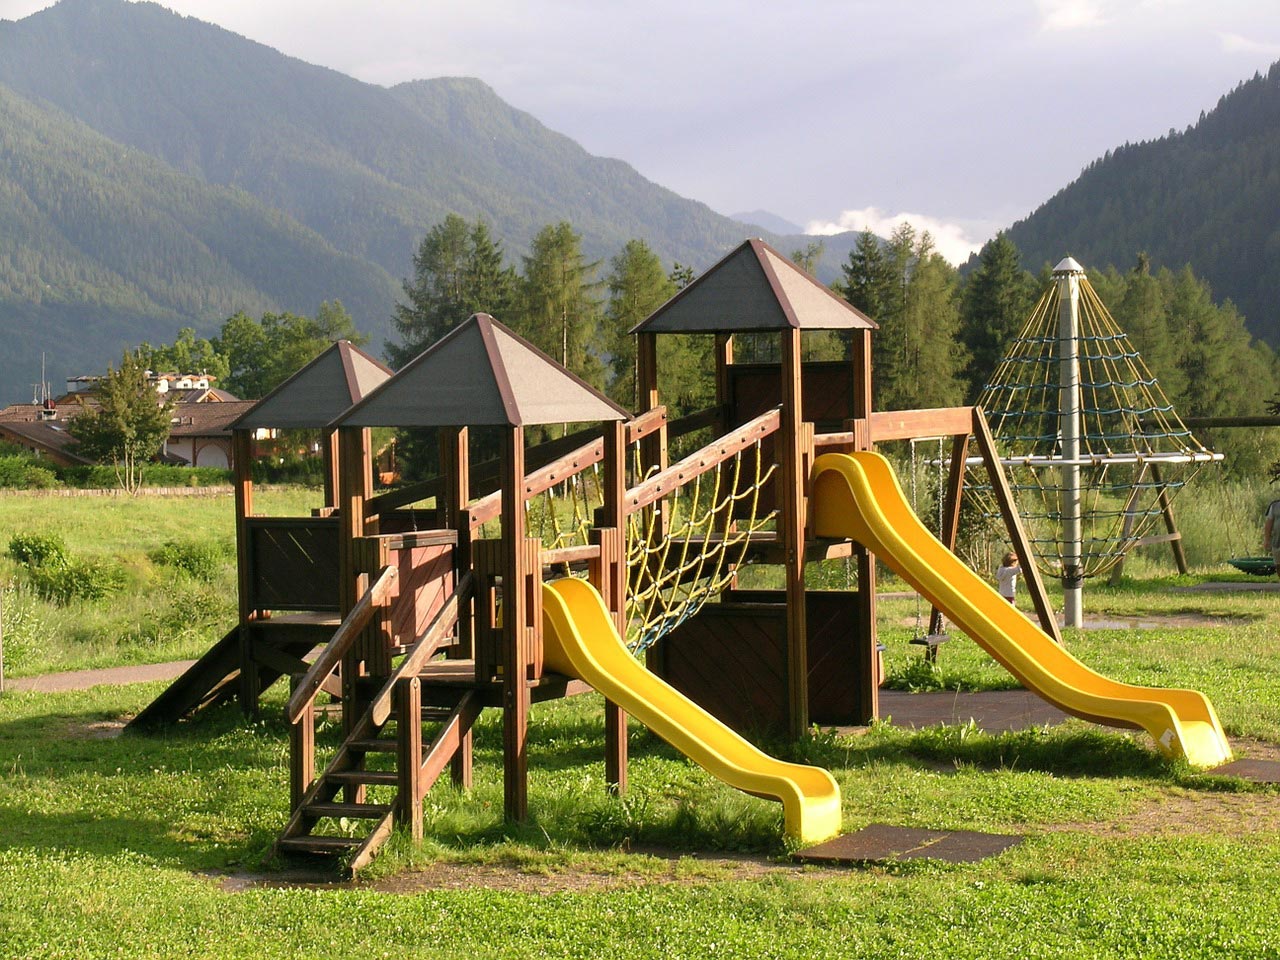
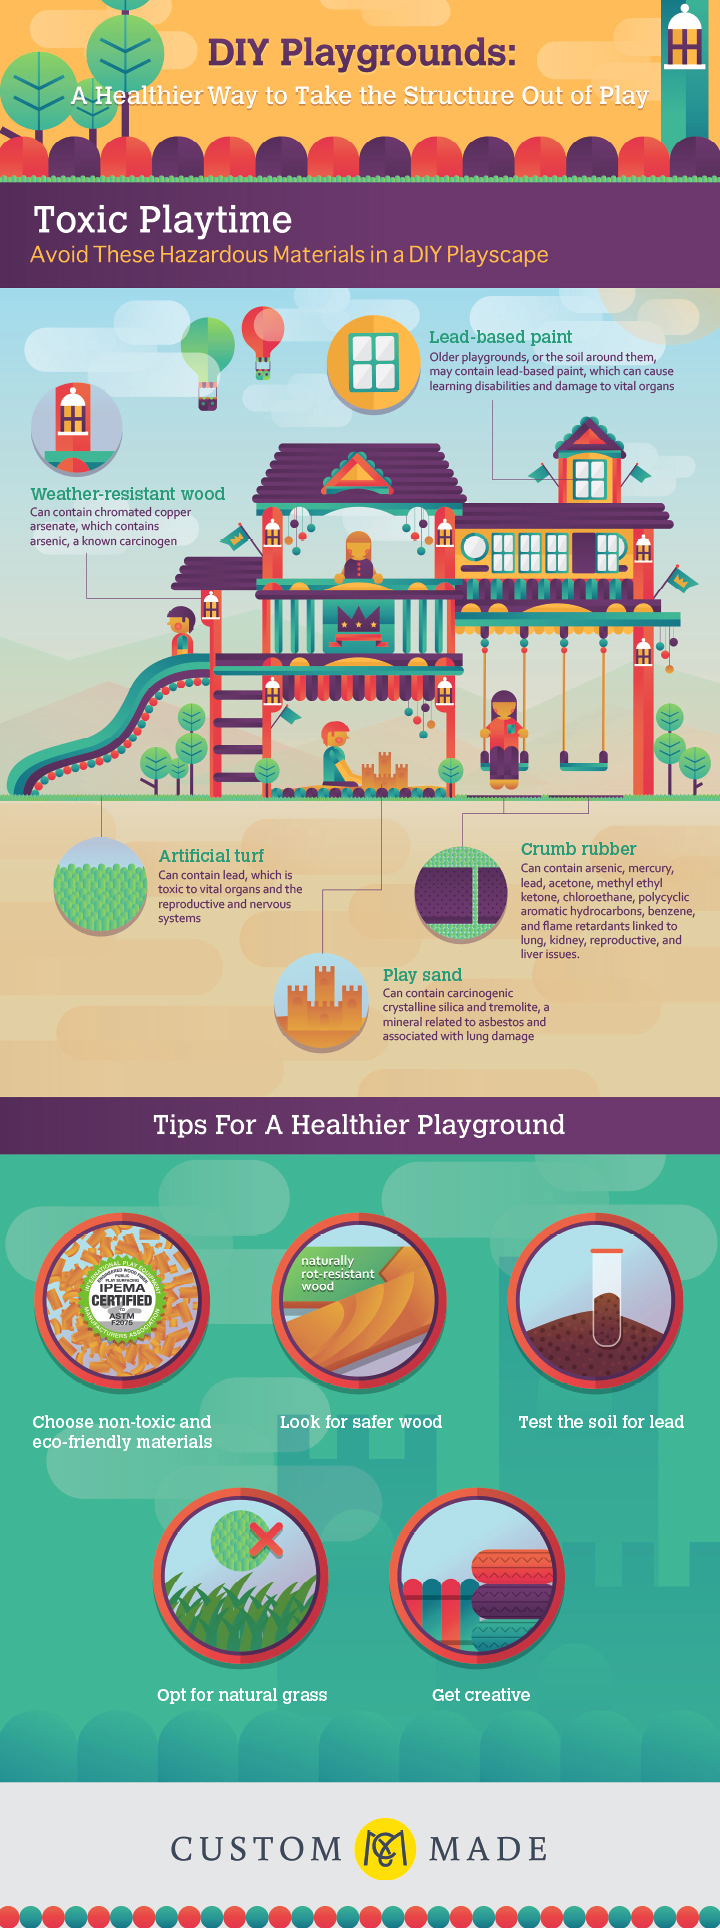
Many old playgrounds might be hiding some toxic hazards, the likes of lead paint and arsenic need to not be in children’s playgrounds and one way to ensure this is to get creative and build your own. Yes you can build some play equipment for the kids. This way you can be sure that it is safe and it is exactly what you want in the space you need it.

My kids love playing outside and creating areas for them to explore and have adventures is ideal. Unstructured outdoor time is helpful for children.

Here are some of the great benefits of unstructured play:

  • Makes kids resilient. If they hurt a foot or scrap a knee they work it out
  • Helps children cooperate with others
  • Learn to do things themselves without parents getting involved
  • Creative and role playing happens more
  • Helps brain development
  • Make friends
  • Allows children to learn. “Until at least 9 years old, a child’s learning occurs best when the whole self is involved” (http://www.stonybrook.edu/heartlinks/unstructuredplay.pdf)
  • Creates the space to allow children to be more independent
  • It is time away from parents and school – a de-stresser


DIY Playgrounds

DIY Playgrounds
Infographic by CustomMade


How to create a healthier playground?

Make sure you follow these steps to ensure a great happy and healthy play area:

  • Choose safe products. Make sure before you purchase that they are the safest and best product to use for what you are creating. If you are in doubt you can visit the Product Safety Australia Website  and for playground safety guidelines in Australia Kidsafe NSW Inc , or if in America Consumer Product Safety Commission website
  • Test the soil if you are worried about lead levels
  • Steer clear of ployvinyl chloride (PVC) and volatile organic compounds (VOC’s) both of these can be harmful to humans
  • Choose manufacturers that are certified by The International Playground Equipment Manufacturers Association (IIPEMA).
  • Pick better wood or wood alternatives. Safer alternatives to CCA treated wood are: plastic, rubber lumber and composite lumber
  • Recycle your materials and be creative
  • Make sure if kids fall over the area will be soft. Aim to have soft grass if you can.
  • If your playground attracts kids from the area, make sure you have rules so it eliminates or cuas4es less accidents.
  • Before you build the structure you need to know how many kids will be using this playground. More kids might need more engineering or it might determine what types of things go in this new play area. If the kids are all the same age then something for one age group. If some are older and some are younger you will need to figure out what will make them all happy.
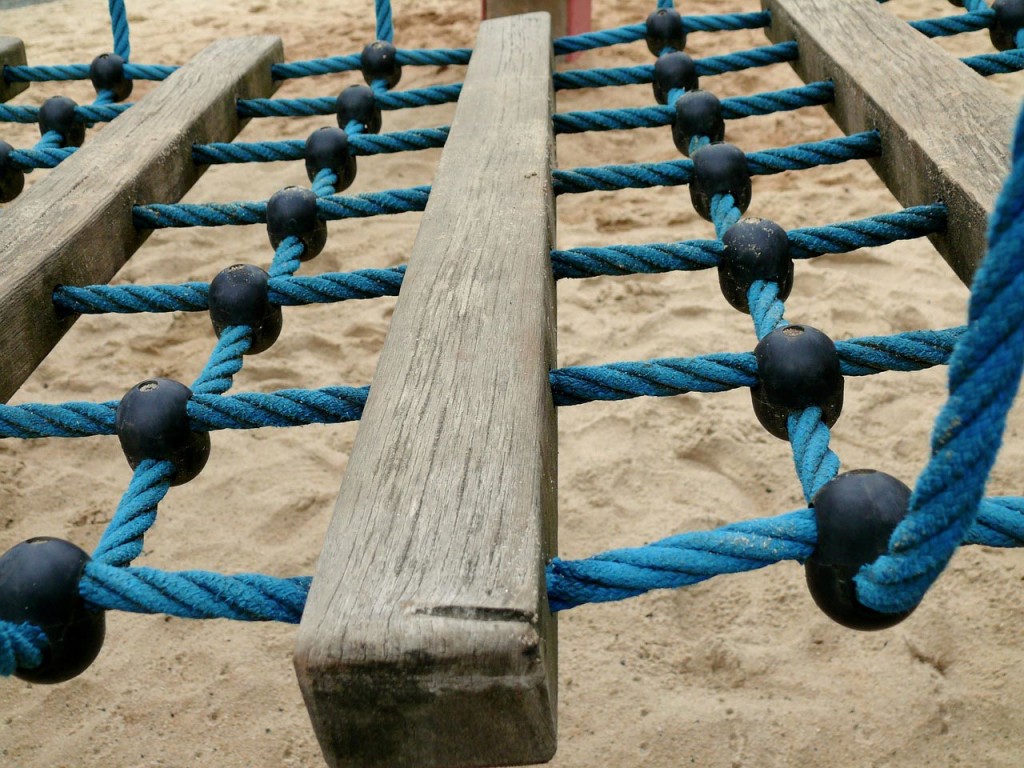
Create your own playground in your yard

Get some Playground Plans for Free!

Need some inspiration on what to create. Here are some plans from Total Playgrounds that will give you a helping hand. Creating something unique for your family and children is a wonderful thing. Remember that something like this cannot be built in one day, well unless you have hired a team of builders that is. So be realistic it might take a month or two but it will get done and you will have something fun and amazing the kids will love.

How about these fabulous ideas from Homedit, get creating today and turn your yard into a fun place to be. Your children will never want to come inside.

Here is another great link to Playground Equipment in New Zealand and they have some great plans that you can create in your very own backyard.

Happy building and happy playing in your new and personal playground. Have fun!

8 Steps To Decorate A Planter For Mother’s Day

Decorating pots for Mother's Day

Need a gift for Mother’s Day? Or a birthday? Well we have the perfect thing for you. It is cheap, the kids can help and Mom will love it! (Read the rest of this post and download our PDF guide) Yes I think I had you at cheap and getting the kids to help is a bonus as well. Now what am I on a about?

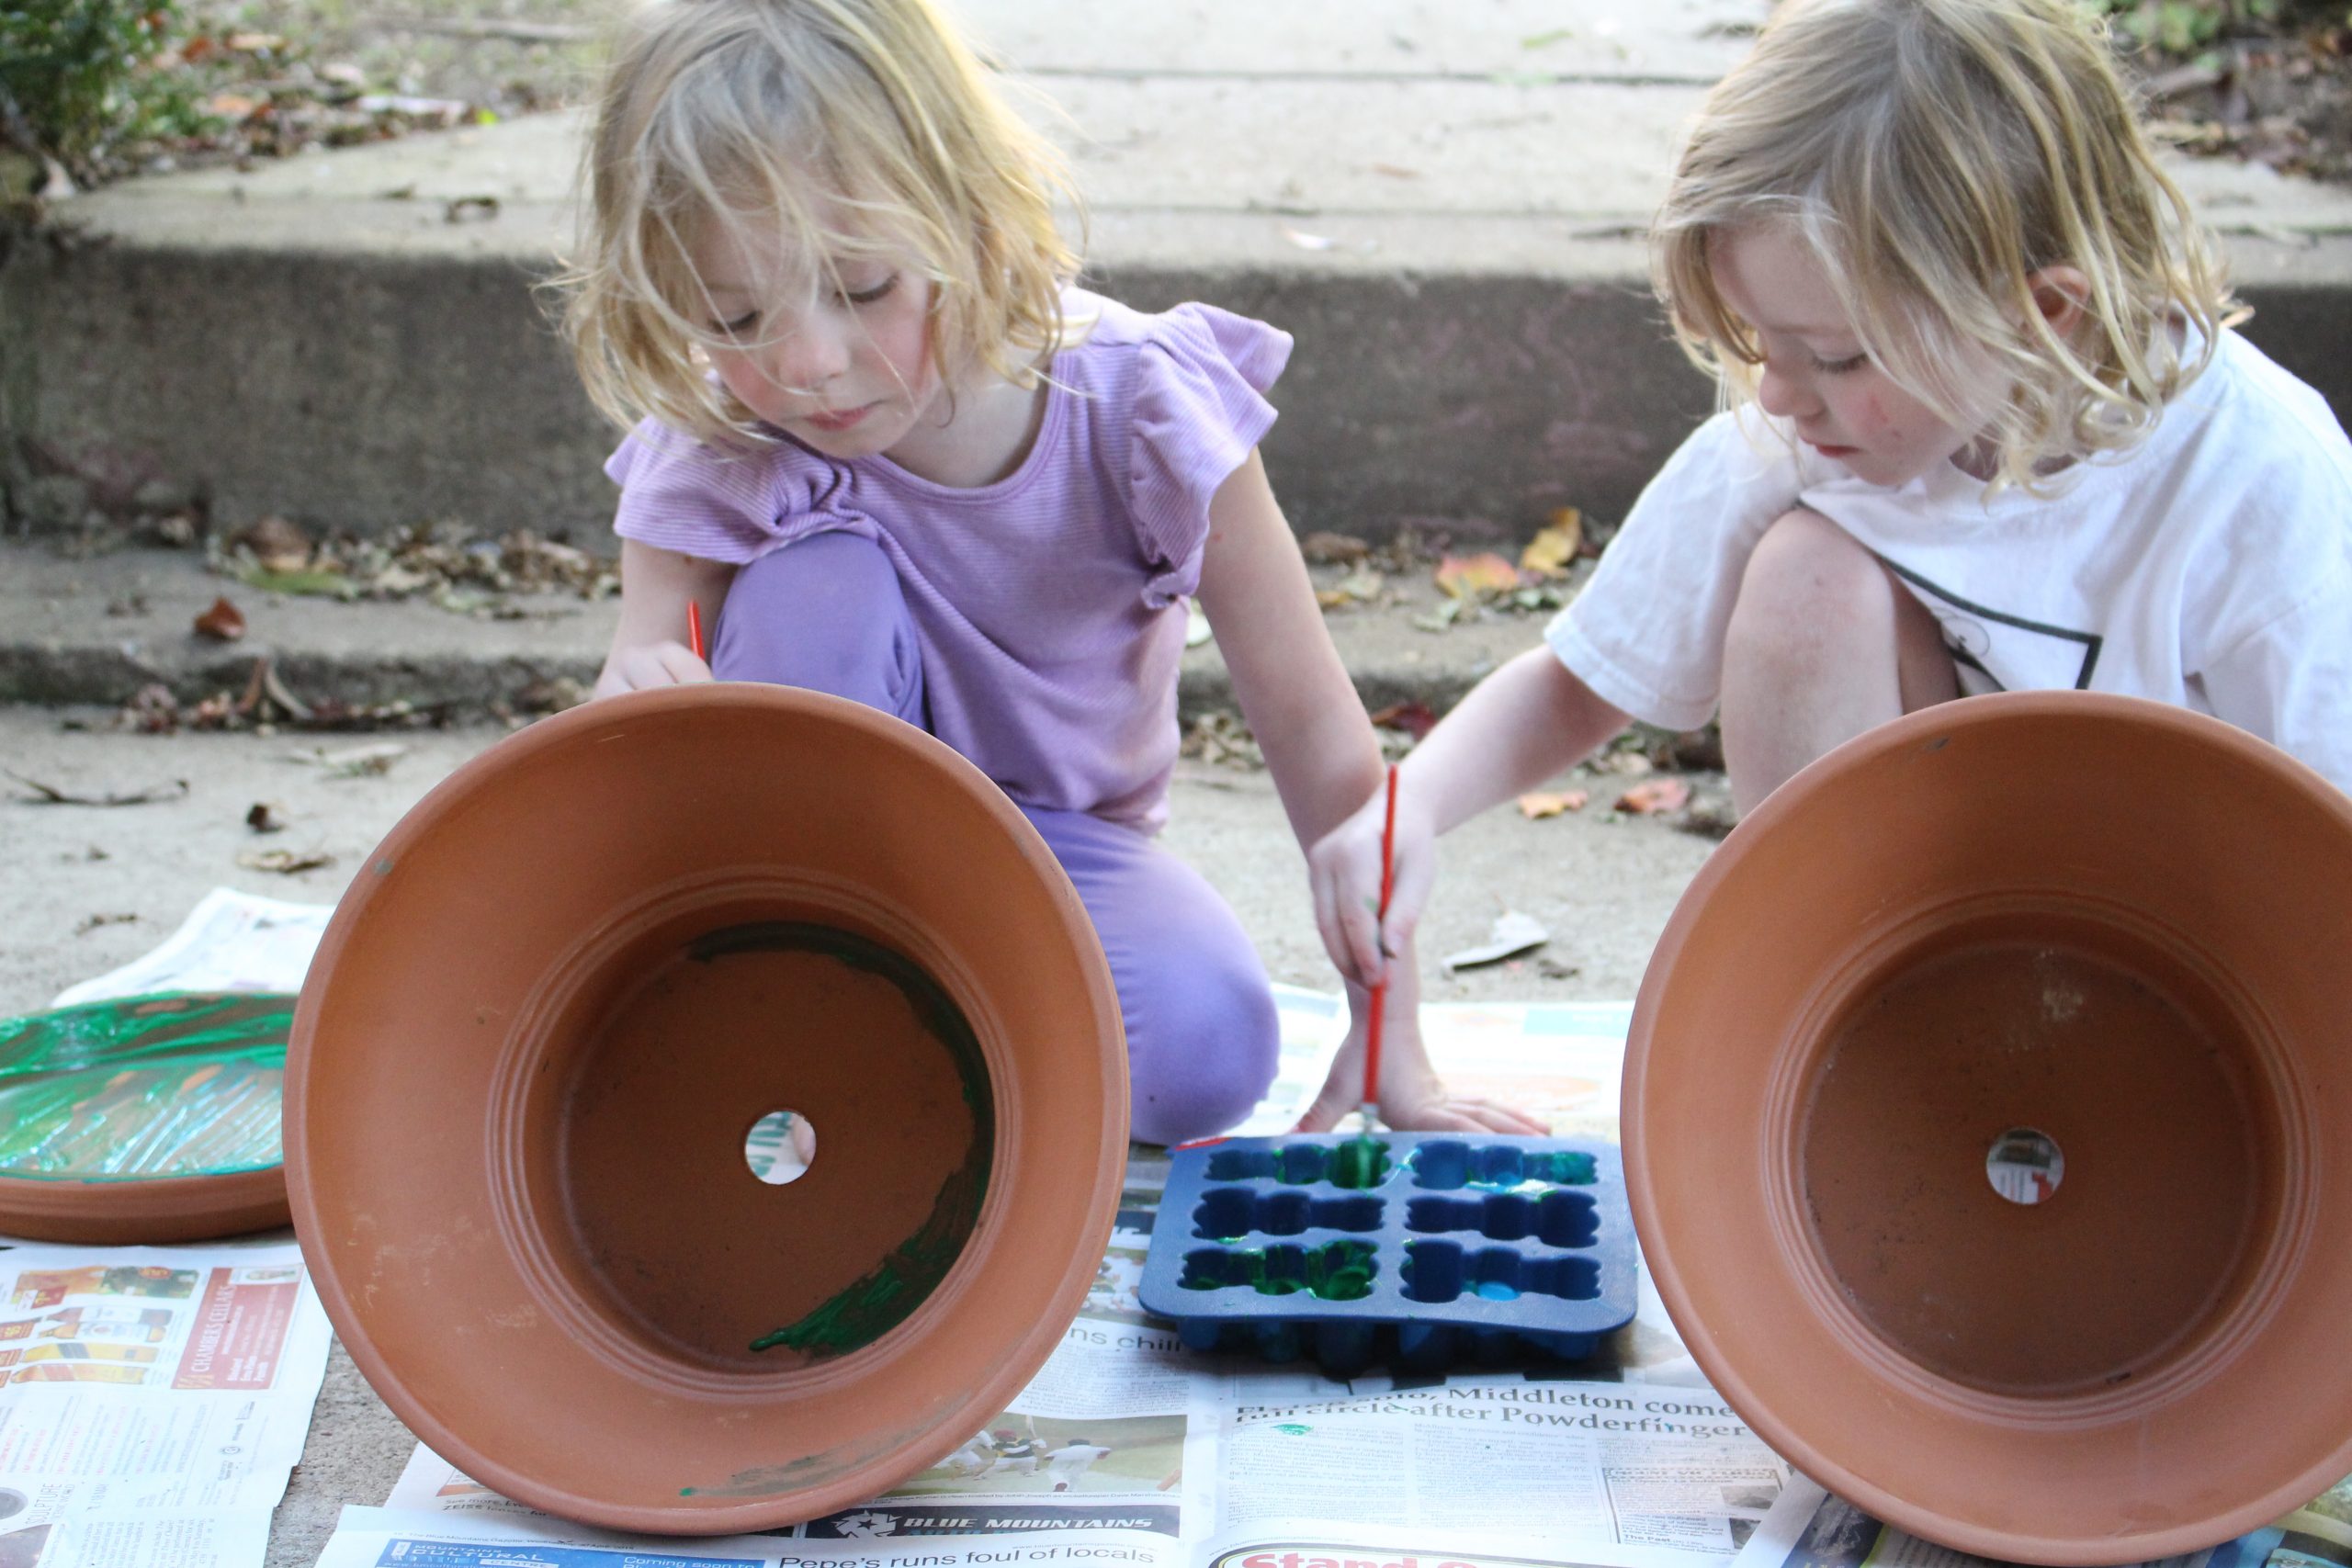
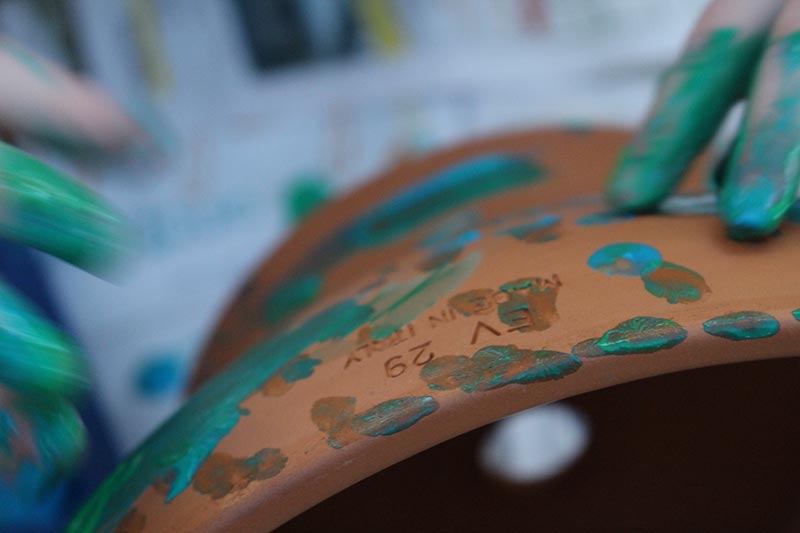
Busy painting the pots for Mother's Day
Busy painting the pots for Mother’s Day

Decorating terracotta pots with paint and you can also add things like decorations if you like. Glitter if the kids fancy it, glitter glue might be a better option since the pot plant most likely will be outside.

What Will You need?

  • Terracotta pots and saucers for the pots
  • Paint to decorate the pots. Look for ayriclic craft paint or external paint that you would paint the house. If you choose standard craft paint you will most likely have to paint it again. I am sure the kids would love to add to their design so no issue there. If you do want to make sure your design is kept and does not wash away keep indoors or seal the paint work on the pot to make sure.
  • Brushes, newspaper to make sure you don’t make a huge mess, container to clean out brushes, and old clothes or an apron for the kids or yourself so you don’t get good clothes dirty.
  • Soil to plant the plants
The kids being creative in their design

Download our guide 8 Tips to Decorate A Planter for Mother’s Day

8 Steps to Create A Painted Planter For Mom

    1. Set up area for painting. Make sure you have newspaper or some sort of cover to prevent mess and spills. Get it all organized before you get the kids invloved. If you are not ready kids get to eager and start painting. You have been warned!
    2. Make sure the kids paint everything. Saucers and all things that go with the pot.
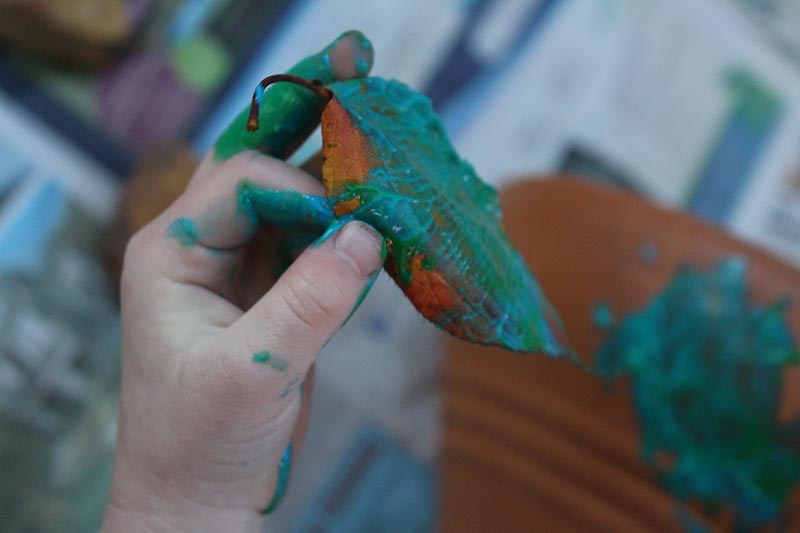
    3. Our kids used leaves and pressed them into paint to create interesting patterns. This would look amazing if you had different colour paint for different leaf shapes. Then press them onto different areas of the pot and then you have an amazing design.
Using leaves as patterns for the design.
    4. Allow kids to get very messy and have fun with this activity. They can be free to create what ever design and outcome they want.
    5. Get plants ready to be added to the finished pot plant. Before you can do this you will need to wait for the paint to dry. We waited a day and then it was ready to go. It could be an hour or so depending on how hot and if the pot is in the sun to dry.
    6. Add dirt and make sure the plants are in the right spot and in just the right amount. You don’t want to have the plants roots out of the planter and not in the soil. If the kids are helping you this is best to check.
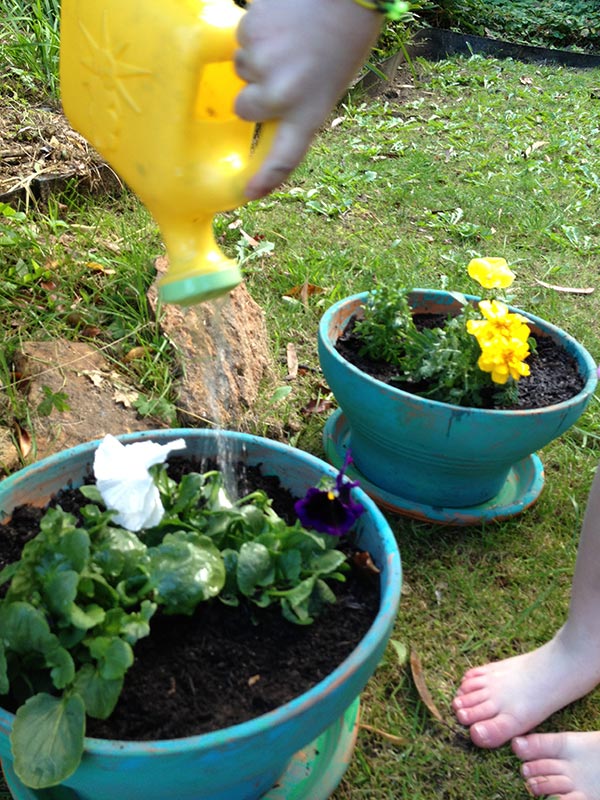
    7. Once all in the new planter, it is now time to water the plants. Get them settled and a drink is a good idea.
    8. Check out the finished product. Don’t they look amazing with color on them. Adding paint to terracotta pots does make a difference. The pots jump out at you now and it is a lovely burst of color, just right for spring and the garden.

Watering the finished potted product. All done and looking amazing. Make one for Mom today!

Have fun and I’m sure the kids and Mom will love this. It will not break the bank. Get cracking on creating this great Mother’s Day gift.