If you’re not the type of person that wants to spend their time managing an elaborate fruit or vegetable garden, you might consider planting and maintaining an herb garden. While the product might not seem as significant, you’ll still enjoy the constant availability of fresh, delicious herbs to flavor your meals with.
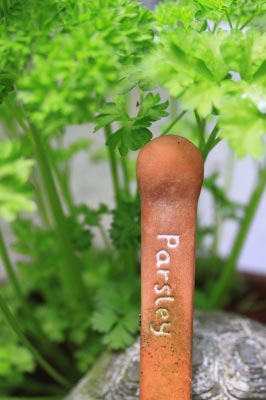
Step 1 – First you’ll want to choose the herbs that you’ll plant. You might have a hard time doing this because of the huge scope of herbs available. But the best way to choose is to do what I did; just look at what you have in your kitchen. By planting your own collection of these herbs, you can save money on buying them from the grocery store while having the added benefit of freshness. Some of the herbs you might start with include rosemary, sage, basil, dill, mint, chives, and parsley among others.

Step 2 – Where to plant your herbs. When choosing an area to put your herb garden, you should remember that the soil should have extremely good drainage. If the dirt gets watered and stays completely saturated, you have no chance of ever growing a healthy plant. One of the best ways to fix the drainage problem is to dig a foot deep in the soil, and put a layer of crushed rocks down before replacing all the soil. This will allow all that water to escape, thus saving your plants.
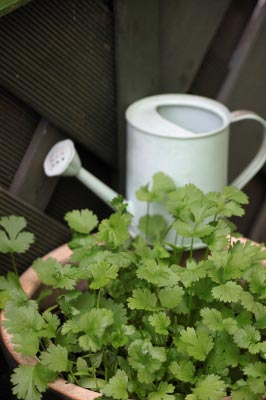
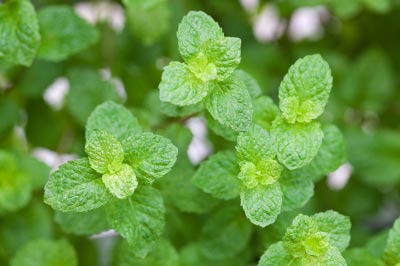
Step 3 – Cheaper to grow herbs from seeds rather than established plants. When you are ready to begin planting herbs, you might be tempted to buy the more expensive plants from the store. However, with herbs it is much easier to grow them from seed than it is with other plants. Therefore you can save a bundle of money by sticking with seed packets. Some herbs grow at a dangerously fast rate. For example, if you plant a mint plant in an open space then it will take over your entire garden in a matter of days. The best way to prevent this problem is to plant the more aggressive plants in pots (with holes in the bottom to allow drainage, of course).
Step 4 – Harvest your herbs and then use them. When it comes time to harvest the herbs you have labored so hard over, it can be fatal to your plant to take off too much. If your plant isn’t well established, it isn’t healthy to take any leaves at all, even if it looks like it’s not using them. You should wait until your plant has been well established for at least several months before taking off any leaves. This wait will definitely be worth it, because by growing unabated your plant will produce healthily for years to come.

Once you’ve harvested your delicious home grown herbs, you’ll want to use them in cooking. Why else would you have grown them? Well first the process begins with drying them out. This is easily achieved by placing them on a cookie sheet and baking them in an oven at 170 degrees Fahrenheit for 2 to 4 hours. After they’re sufficiently dried to be used in cooking, you can consult the nearest cookbook for instructions on using them to effectively flavor a dish.
Step 5 – Store your herbs for later use. If you want to store your herbs for later usage, you should keep them in a plastic or glass container. Paper or cardboard will not work, because it will absorb the taste of the herbs. During the first few days of storage, you should regularly check the container and see if any moisture has accumulated. If it has, you must remove all the herbs and re-dry them. If moisture is left from the first drying process, it will encourage mildew while you store your herbs. Nobody likes mildew.
If you enjoy herbs or gardening, or both, then you should probably consider setting up an herb garden. It might require a little bit of work at first to set it up for optimal drainage, and pick what herbs you want to grow. But after the initial hassle, it’s just a matter of harvesting and drying all your favorite herbs.


